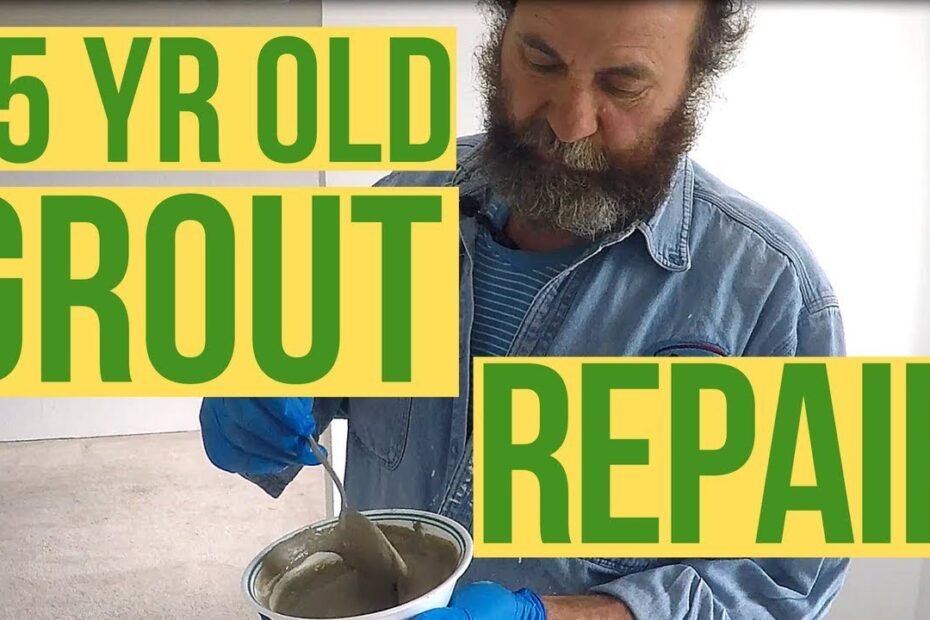
How to Repair Tile Grout: A Step-by-Step Guide
Welcome to Bahiano Reno! Today, we’re tackling a common home maintenance task: repairing grout on tiles that are approximately 14-15 years old. The tiles themselves are in good condition, but the grout has loosened in some areas. Instead of replacing all the tiles or grout, we’re focusing on a repair that will stabilize the tiles until a full renovation is feasible.
Gathering Your Supplies
The first step in any repair job is gathering the right tools and materials. For this grout repair, we’re using a sanded grout. When choosing grout, check the box for the color, which can usually be found on the top or side. Depending on the size of the area you’re working on, you might need different tools. For smaller areas, a small sponge and tool for pressing grout will suffice. For larger projects, consider using a larger sponge.
Preparing the Grout
Let’s get started by mixing the grout. You can use any clean bowl for this process. Add a small amount of cold water to your bowl—just enough to make the grout workable. If you’re mixing a large amount, use a drill and bucket, but for our purposes, a spoon will do. It’s important to avoid getting the grout on the box wet, as it will harden.
Mixing the Grout
Mix the grout until it reaches a soft consistency that can easily fill the gaps between the tiles. For larger areas, a softer mix is ideal, but for smaller repairs, a slightly thicker consistency is preferable. Remember to wear gloves during this process to protect your hands.
Cleaning and Preparing the Surface
Before applying the grout, ensure the surface is clean. Remove any loose grout and clean the area with a product designed to eliminate grease and dirt. Vacuum the area to ensure it’s free of debris. Proper cleaning is crucial to ensure the new grout adheres properly and doesn’t loosen over time.
Applying the Grout
Once the surface is prepared, it’s time to apply the grout. Let the mixed grout sit for about 5 to 10 minutes, then mix it again to ensure it’s well combined. Pour a small amount of grout into the gaps, being careful not to push too hard. The goal is to fill the gaps without damaging the tiles.
Cleaning Excess Grout
After applying the grout, clean off any excess with a sponge. This initial cleaning will remove the bulk of the grout from the tiles. Let the grout sit for about an hour to harden slightly before proceeding with a more thorough cleaning.
Final Cleanup
Once the grout has hardened, use a wet sponge to clean the area thoroughly. A white cloth is ideal for this step, as it won’t leave marks or contaminate the color of the grout. This step ensures your repair looks professional and clean.
Why Use a White Cloth?
Using a white cloth is a precautionary measure to prevent color contamination. Colored cloths can transfer dye to the grout, altering its appearance. White is neutral and ensures the grout maintains its intended color.
Conclusion
This quick repair isn’t complicated, but it requires attention to detail to ensure a lasting fix. We appreciate your support and hope this guide has been helpful. For more home renovation tips, give us a thumbs up, subscribe to our channel, and stay tuned for our next video. Thank you for joining us at Bahiano Reno!
Read More: How to Install Vinyl Plank Flooring as a Beginner | Home Renovation
Read More: How to Install Vinyl Plank Flooring as a Beginner | Home Renovation
